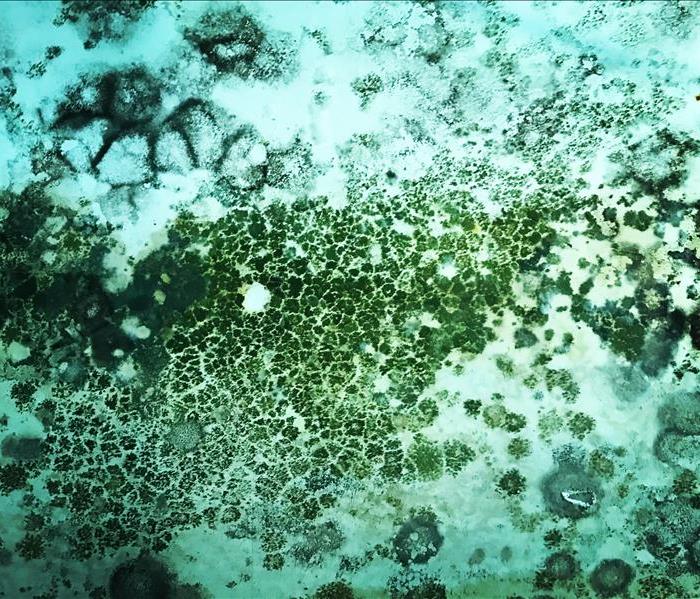
Air Duct Mold Remediation in 3 Steps
1/18/2022 (Permalink)
Your commercial property in Vancouver, WA has many places where black mold may hide. All areas that are prone to excess moisture can foster fungus growth. If you believe the problem resides in your HVAC system, there are several steps that mold remediation specialists take to remove the growth and keep it from coming back.
1. Identify Mold Problem
The first thing technicians do is test to confirm that there is mold in your air ducts. There are several signs that this may be the case:
• Fuzzy or slimy patches on insulation
• Black powder on wall outside air vents
• Strong, musty odor
Professional testing gives technicians a lot of information to work with. They know not only the extent of the problem but also the kind of mold they're dealing with. Once they identify the black mold, they can choose better techniques to mitigate it.
2. Clean Ductwork
The main goal of remediation is to leave you with clean ducts throughout your building. Technicians may seal off the system while the cleanup is in progress. This keeps an intense concentration of mold spores from spreading throughout your building and growing elsewhere. After the mold growth is removed, more tests can be run to confirm that the problem is resolved.
3. Resolve Source of Problem
No matter how quickly or thoroughly your remediation specialists remove the mold growth, if you do not take care of the problem that led to it, it is likely to return. Make sure all leaks are fixed. You may need to re-caulk your tile floors or reduce the humidity in your building. Preventing further water damage can also prevent future mold damage.
When you see signs of black mold, you probably need to do more than just wipe it away with a wet cloth. Certified professionals are trained to get rid of the growth and keep it from returning.


 24/7 Emergency Service
